
Welcome to this guide, where we are going to see how you can use your Trezor wallet with Metamask, in order to add more security to your cryptocurrencies.
A common misconception is that by having a hardware wallet, you can’t use other wallets like Metamask, and they are separate wallets. But this is not really the case. Since the main hardware wallets integrate with most wallets with Chrome extension or mobile app in a very easy to use way. We can see metamask, keplr, phantom wallet and many others that allow us to use our hardware wallet with them. With the maximum convenience they provide, and with the extra security of the hardware wallet.
Metamask is one of them, and it is compatible with Trezor, as well as other hardware wallets. So let’s see how you can use it. Whether you already have an account with Metamask or not.
Let’s assume that you already have a Metamask account, but if you don’t, follow the same steps as we will now see.
Setting up Trezor in Metamask
To add our Trezor as another account, click on the top right and connect hardware wallet. If you do not have an account with metamask, install the extension and when creating an account, also indicate the hardware wallet option.

Now, a tab will open with the main hardware wallets compatible with Metamask. The next step is to connect your Trezor to your computer if you have not already done so with the cable. If you are using metamask from your mobile, pair your trezor via bluetooth to your mobile.
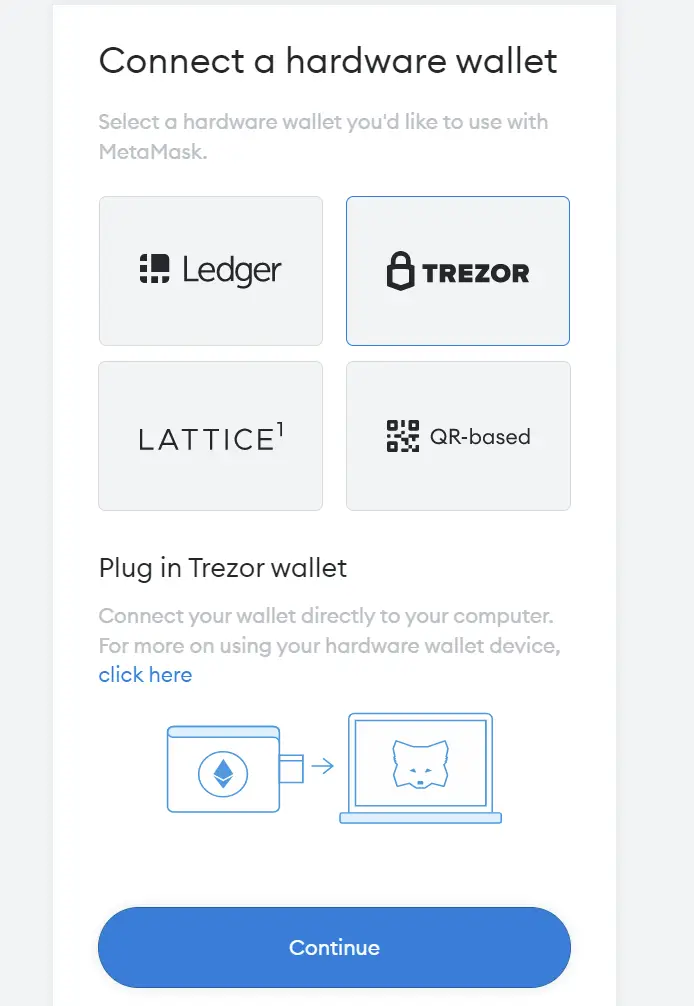
With the trezor connected to your computer, here, select the trezor option and continue. Now, you should see a popup that detects your Trezor connected to your computer. If so, let’s select it and click on connect.

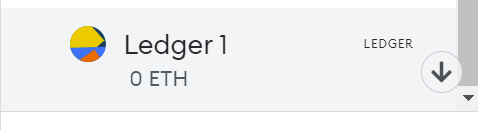
With this done, click continue and add the account to your Metamask. Now, if you open metamask and click on the top right, in my accounts you will see a new account with the name hardware or trezor or hardware wallet. And that will be the account you will be able to use with your Trezor.
If at any time you want to delete that account, it is as simple as selecting it, click on the 3 dots at the top right and click on remove account. Click on remove and that’s it. Your Trezor account will no longer appear. Even if you delete it, you can add it back in the same way as we have seen.
How it works
To use your trezor with Metamask, you simply select the account that has been added. When making any transaction with that account, you will have to approve the transaction with your Trezor, making it impossible for anyone to withdraw funds or make any transaction without having the physical object or hardware wallet.
This extra security will prevent that if your computer is hacked or someone has access to your computer, they will be able to withdraw funds from your wallet, as they also need the trezor to approve any transaction.
I hope this has helped you to learn how to use your Trezor with Metamask in an easy and simple way. Remember that if you don’t have an account with binance, you can create one just below.