
Welcome to this post, where we are going to see how you can add the Cronos network in Metamask.
To do this, we are going to look at two ways you can use to set up this network with Metamask, and then we will see how you can deposit funds into Cronos to start using the different applications of this network.
It is important to mention that you should not confuse the Crypto.com network with Cronos, as they are both networks on the Crypto.com platform, but they are different. While the crypto.com network can be used in a wallet like keplr, Cronos is an EVM (Ethereum virtual machine) network, which means that it is compatible with Ethereum applications like the metamask wallet. So always make sure you are using the Cronos network, and not using the crypto.com network, which is not compatible with metamask.
The first way to add the network is to open your wallet, and go to the top right. Click there, and go to settings or configuration. Networks, and click on add network. Here, copy the following information:
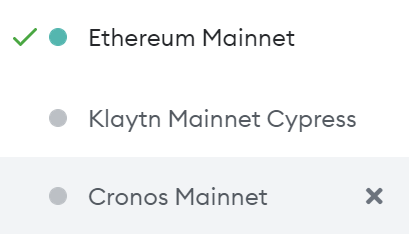
- Network Name: Cronos Mainnet
- New RPC URL: https://rpc.vvs.finance
- Chain ID: 25
- Currency Symbol: cro
- Block Explorer URL: https://cronos.crypto.org/explorer/
With this copied, click save and you are done. Now, you will be able to select the network at the top of the list from all the networks you have configured.
The other way is to go to chainlist.org. This page allows you to add different networks directly without having to do it as we have seen before. To do this, the first step is to connect our wallet on the top right.
Now, we will use the search engine to find the network we want to add, in this case Cronos. Click on add to metamask, and the metamask wallet will open with the information to add the network. Click on approve and that’s it. This way we will have Cronos added in a simple and direct way.
Deposit Funds in the Cronos network
With the network set up, the next step is to send CRO to our Wallet to be able to use it in different DEFI platforms. To do this, you can use the crypto.com network exchange to buy CRO and withdraw it to your wallet.
Another good option is to use Gate.io, where you can buy CRO and withdraw it directly to the Cronos network. Once purchased on gate.io, click on withdraw. Here, copy the address of your metamask, indicate the amount and confirm with the confirmation codes you are asked for. After a few minutes, the CROs should appear in your wallet for use in DEFI.
If you don’t have an account with gate.io, you can create one just below.

Note that many centralised exchanges do not have the Crypto.com token, as it is a directly competing exchange, such as Binance. Therefore, gate.io is one of the best options, being one of the few popular exchanges that has listed this cryptocurrency.
If you have your CROs on the crypto.com network, you can use the crypto.com bridge at cronos.org/bridge/, where you can transfer your CROs from crypto.com to cronos, or even transfer cryptocurrencies from Cosmos, Terra, Akash directly to your wallet on the Cronos network. I hope it has helped you to set up Cronos and have funds in this network. Remember that if you don’t have an account with gate.io, you can create one just below.