Welcome to this detailed guide about tokens in Metamask, where we will show you how to add and remove tokens in an easy way. We’ll also go through the basics so you can always find the token in your wallet.
When using metamask for the first few times, tokens can be confusing. We’ve all had the experience of sending tokens and not seeing them in Metmask and thinking we’ve lost them. But more often than not, it’s because we didn’t have the right token added or didn’t even think we needed to add it to our wallet to see it. So let’s solve this problem and solve the doubts that usually cause more problems.
The way to add metamask tokens in each network is very similar, except in Ethereum where we already have a list that makes it much easier. So let’s look at it first, and then the part that can be a bit more complicated.
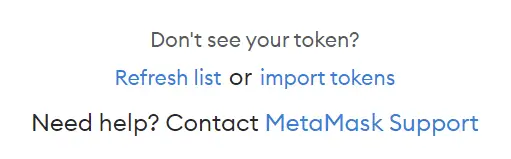
To find it, we’ll need to have the Ethereum network selected at the top, and go under Metamask. Here you will see the option to refresh list or import tokens. This option is only found on Ethereum at the moment, because it is the main, and most used, network. So if you want to add tokens in other networks like Polygon, BSC, Avalanche or others, you can skip this part, although I recommend you also know how it works.
Metamask Token List
Click on refresh list to update the list in case it is not up to date. Just click on it, even if you don’t see anything, it will be updated automatically. Now, let’s go to import tokens.
Here, we find search, which is the token list, and custom token. We will focus on the search part. Here, simply search for the cryptocurrency you want to add. For example, USDC, select the one you want to add, click next and click import tokens. In this simple way, you will already have the cryptocurrency added.
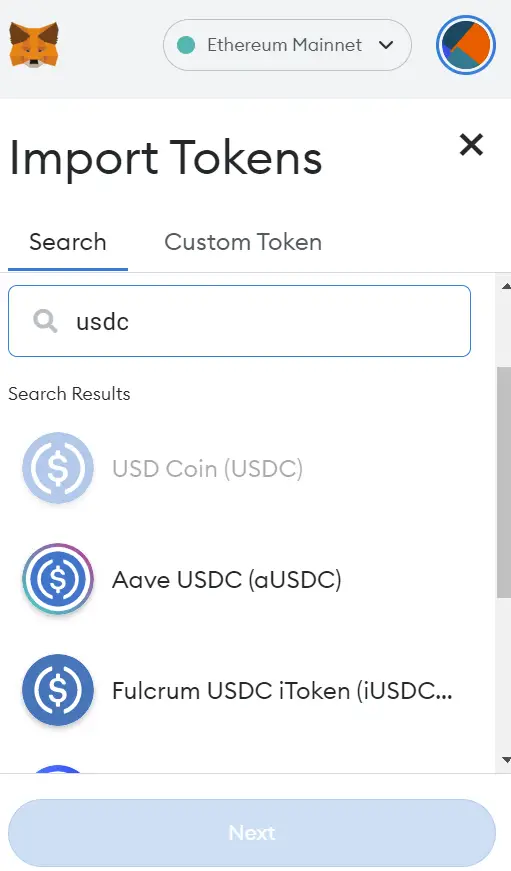
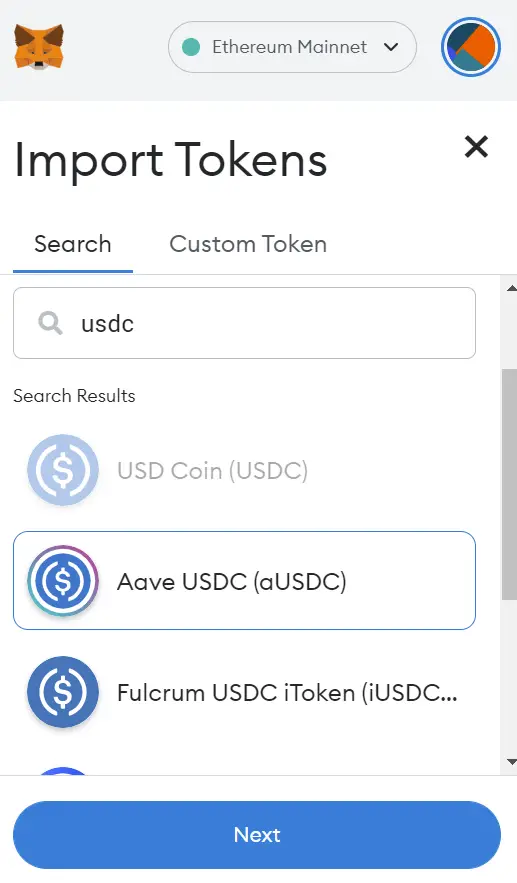
Sometimes, in the beginning, you may get confused when adding a cryptocurrency, and actually the one you have used is another one. This happens when there are many similar cryptocurrencies such as USDC or USDT, with for example, aUSC, iUSDC, unUSDC and many more. Therefore, always try to know which cryptocurrency you really want to add.
The token list does not have all cryptocurrencies in the Etheruem network, although it is getting more and more accurate and you will find more and more cryptocurrencies. If you don’t find the cryptocurrency you want to add, let’s look at the other way.
Custom Token
This is how we will add tokens on the other non-Etheruem networks, as they don’t have the search option. And to understand it as well as possible, let’s see how it works.
When a token or cryptocurrency is created on a network, this token has a contract. This contract is what allows different applications and wallets such as metamask to identify the token and know which one it is with respect to another.
The contract is what we will use to add the token we want to our Metamask wallet. And to find it, you can use websites like coingecko or coinmarketcap.
Another option is to use a browser like bscan if you want to search for tokens from the Binance Smart chain, etherscan if you want to search for tokens from the Ethereum network and so on. But this option is more complex and confusing, especially if you are new to using a browser. So we won’t focus on this option.
Let’s go to coingecko or coinmarketcap and search for the cryptocurrency store we want. To make it easier for you to see, we will make an example with USDC. Since it is a cryptocurrency that can be found in different networks. In this case, we will see how to add USDC in the BSC network.
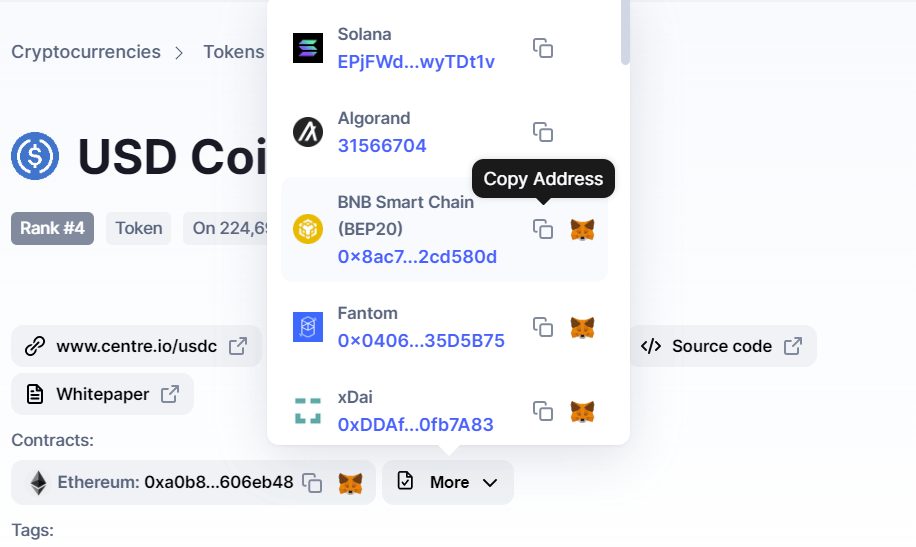
Here, you will be able to see different contracts from different networks in contracts, and as you can imagine, you will have to copy the contract from the network. If you copy the contract from the Ethereum network to add it to another network, it will not work. For some cryptocurrencies you may not find the contract from the network you are looking for, and this is almost always because that cryptocurrency does not yet have a version on that network.
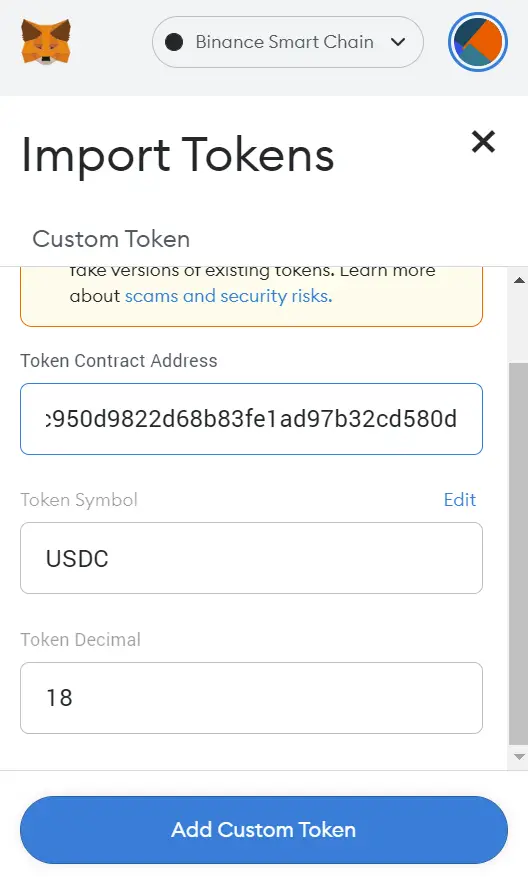
We copy the USDC contract from the BSC with its symbol. Both the coingecko and coinmarketcap pages make it very easy to copy by clicking next to it. Open metamask, with the Binance Smart Chain network selected at the top. Click on import token and paste the contract in the first box.

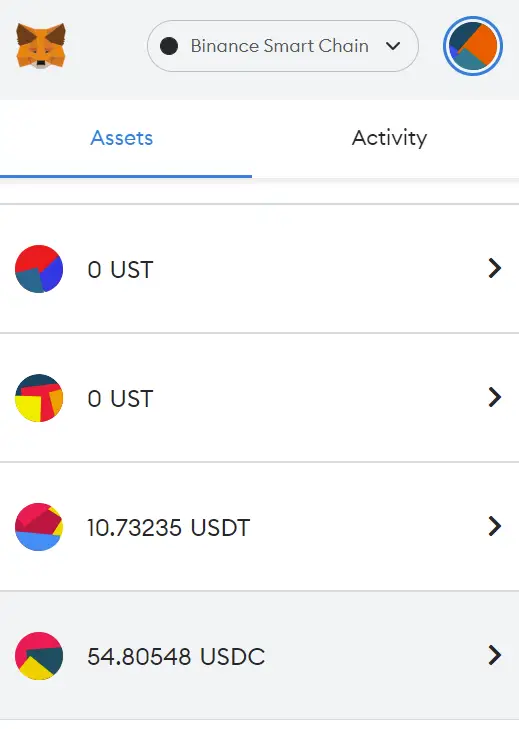
You will see that, if you have done it correctly, it will detect the contract and click on add custom token. Import token and that’s it. Now, you will be able to see the USDC in your wallet.
Delete Tokens in Metamask
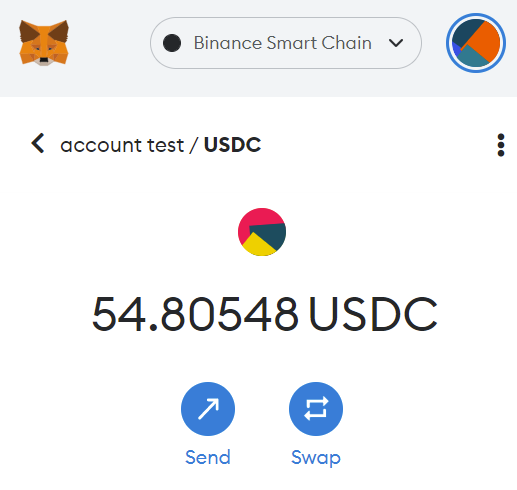
If for some reason you have added too many tokens or you have added the wrong token, you can delete it. And this is also very simple.
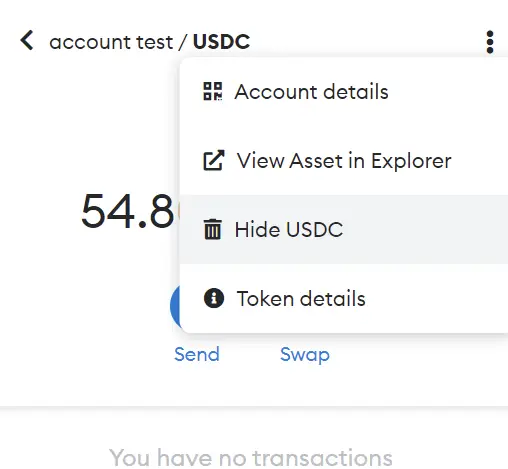
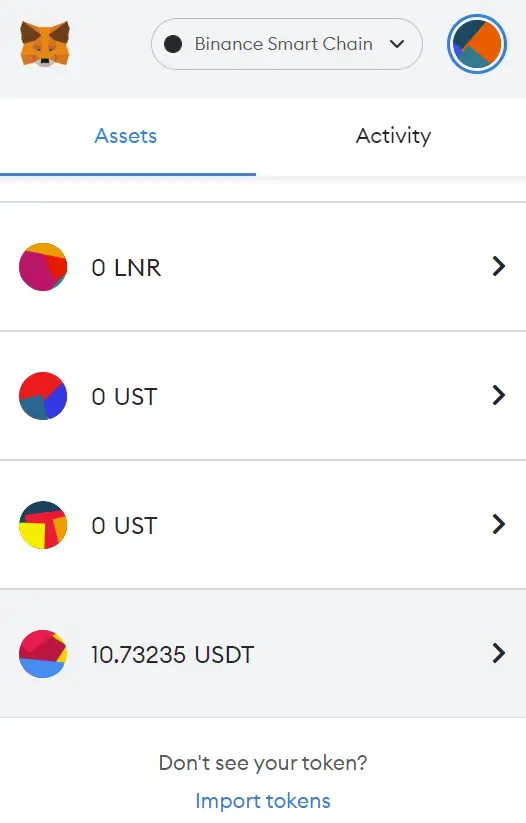
Click on the token you want to remove from the list, in this case we will continue with the USDC example. Click on the 3 dots at the top, hide USDC or the token you want to stop seeing, Hide and this way you will have it deleted. This way you will be able to revoke tokens in metamask in less than 1 minute.

I hope it has helped you to learn more about how tokens work in Metamask and everything related to it. Remember that if you don’t have an account with Binance, you can create one just below.