Welcome to this guide, where we are going to cover the step-by-step of how to move your Coinbase Pro (GDAX) funds to your Metamask wallet in a simple, easy and error-free way.
If you have funds in both Coinbase and Coinbase Pro, the process is very similar and you can use this guide to replicate it. Although in this case, we will use Coinbase Pro as an example.
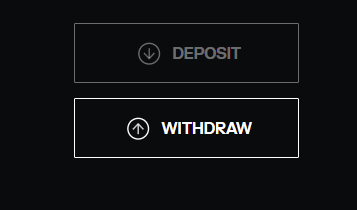
So let’s first go to our GDAX account, and portfolios. Here, you will see a withdraw button below the deposit button. We are looking at how to do this on the computer, but with the mobile app the process is the same.

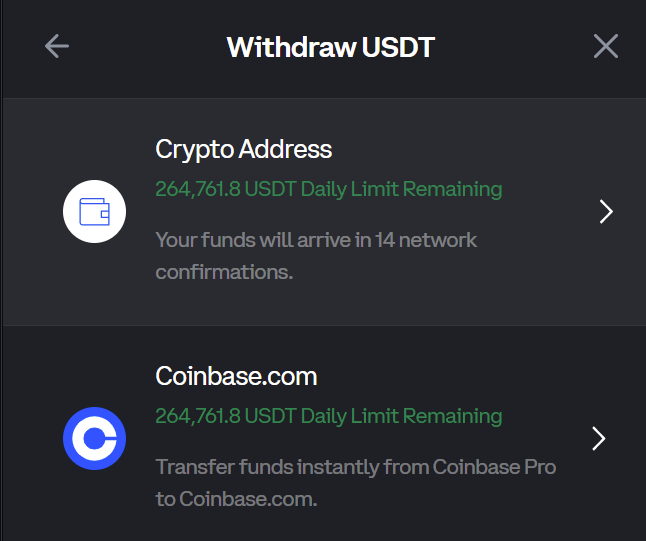
In withdraw, the next step is to indicate the cryptocurrency you want to send to Metamask. Once you have selected the cryptocurrency, click on crypto address.


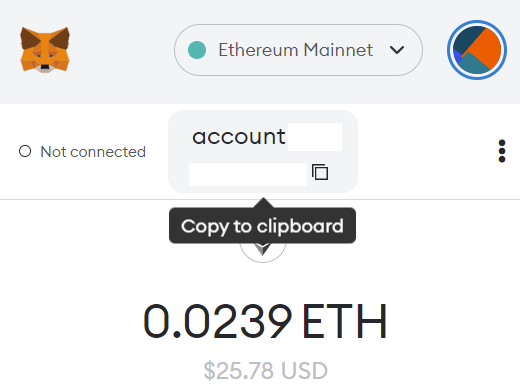
Now we will be in the withdrawal panel, and we will have to open our Metamask wallet. Click above under the name to copy the address of the account where you want to send the cryptocurrencies. If you have more than one account in your Metamask extension, make sure you copy the address of the correct account and not another one.

With the address copied, go back to GDAX and paste it into to. When you paste it, you must click on +use this address. The next step is to enter the amount. Confirm that all the information is correct, and if so, click on withdrawal. You will be able to see the time it takes for confirmations and in network fee the commission charged for the withdrawal.

If you are happy with the commission and you have confirmed all the information, click on withdrawal and confirm the withdrawal with double authentication. This way, we will have the cryptocurrencies on their way to our Metamask wallet.

It is important to note that when you make withdrawals with Coinbase Pro (GDAX), most of the withdrawals are on the Ethereum network, so you will receive them on that network. If, for example, you withdraw ETH, USDT or native tokens from the Ethereum network, you will not be able to send them to any network other than the Ethereum network.
On the other hand, if you withdraw, for example, Avalanche, the cryptocurrencies will be sent to the Avalanche network. And so on with all native tokens that have their own network. So make sure you know which network Coinbase Pro is using before you make any withdrawals.
A very good recommendation, and one that I personally use, is to first make a withdrawal of a small amount to verify that it is all correct, and then withdraw the full amount. Although if the withdrawal is using the Ethereum network, the commission or network fee is somewhat high and perhaps this option can be a bit expensive if you do not withdraw a large amount.
The time it usually takes will depend on the network you use for the withdrawal. But with the Ethereum network, which is the most common, it usually takes between 10-20 minutes. Sometimes, it can take longer to arrive because of the platform itself, or because of problems in the Ethereum network and its high usage.
I hope this has helped you to learn how to send your Coinbase Pro (GDAX) cryptocurrencies to Metamask step by step. Remember, if you don’t have an account with Binance, you can create one just below.
Platform: Binance
Min. deposit: $10
License: Cysec
Very low commissions
Exchange with more cryptocurrencies
Find more Metamask guides below
Learn how to fix different Metamask Errors below
Configure different networks in Metamask with our guides


