The first thing to do is to open your binance account and go to futures. If you do not have an account with binance, in the description you will be able to create one.
The trading grid is only in futures, which allows us more leverage to get more profitability, but also keep in mind that it has more risk. We open binance and go to dervices. USD Futures. Here, you will be able to trade only futures, or use the trading grid to get the maximum profitability.
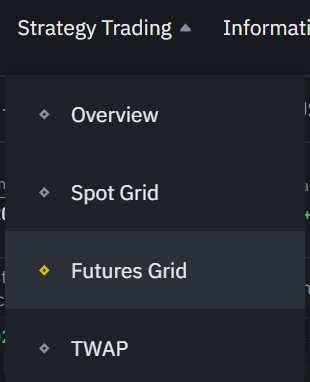
To do this, you will see on the right side of the screen grid trading, click on it. It will open a new tab to configure the grid trading. So let’s see what each aspect is and how to configure it correctly.
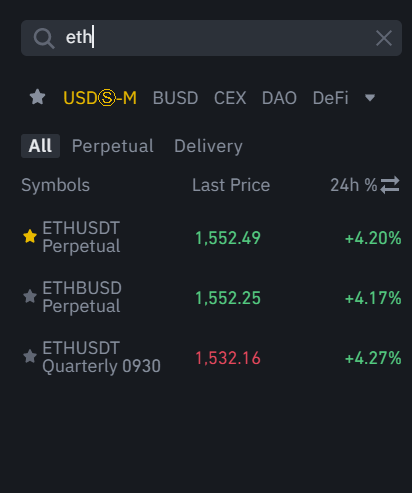
The trading grid or futures grid is linked to a cryptocurrency. If you have not changed anything, it will appear in the bitcoin cryptocurrency. The first thing to do is to choose the cryptocurrency you want to use the trading grid. Go to the search engine, search for the name, for this example I will take cardano, ada, and click on the cryptocurrency you want to trade.
Market movement
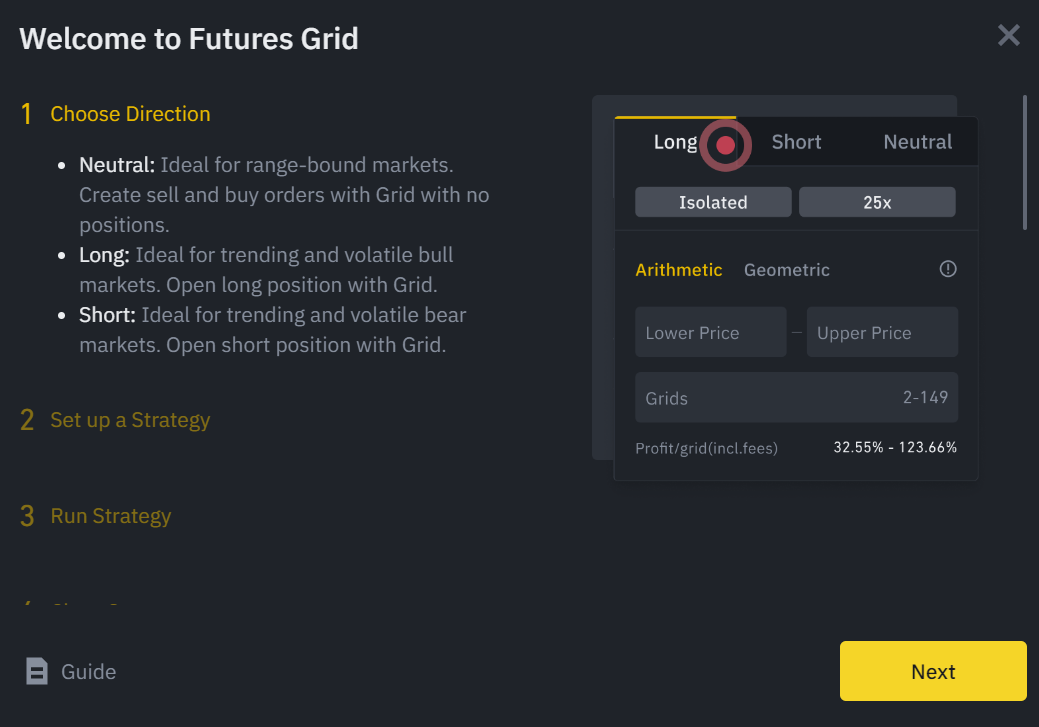
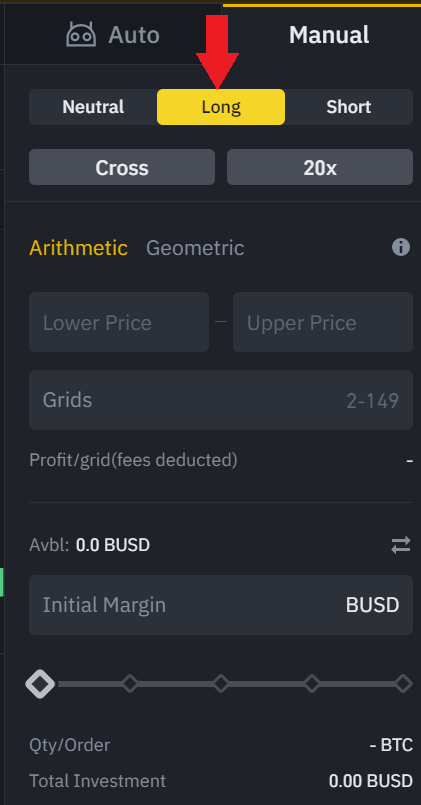
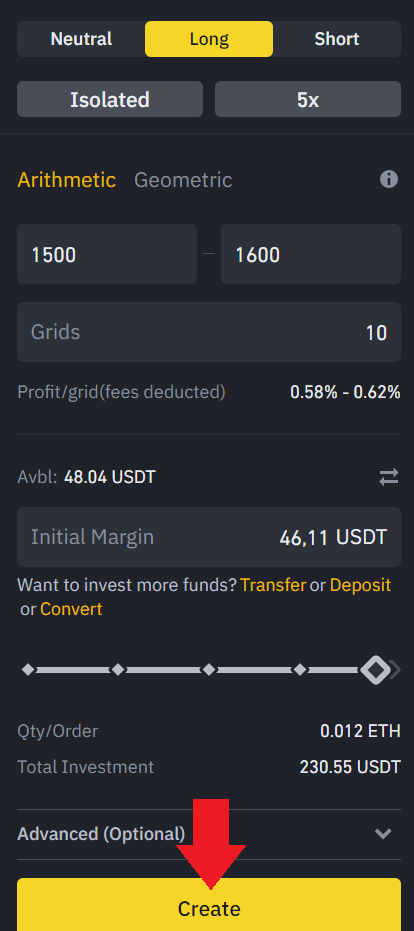
With the cryptocurrency selected, the first thing we have to choose is if we believe that the price will move little, neutral, it will go up, we will select long, or it will go down, we will select short. In my case I will press long because I think this cryptocurrency is going to go up.
Leverage
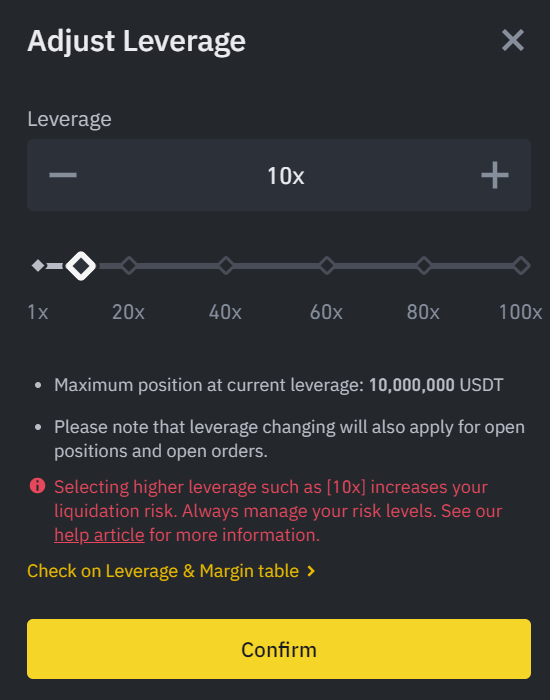
The next thing we need to select is cross or isolated. You can see what each one is, but my recommendation is to use cross for less complications. We continue with the level of leverage, usually comes standard 20. In this case, it is up to each one the risk he wants to take and the possible profit. The higher the leverage, the more profit you will be able to make, but also the higher the risk of liquidating your positions. For this example we will select 10 leverage.
Arithmetic and geometric
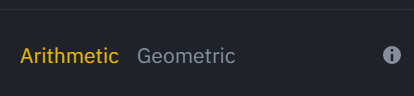
We continue with arithmetic and geometric. In the case of arithmetic the grid will have the same price difference and in the case of geometric, the difference will be in relation to the price of the cryptocurrency. Actually both options work well, depending on the price of the cryptocurrency you may be more interested in using arithmetic or geometric.
Price Range

Now comes one of the most important aspects, after selecting whether you think it will go up or down. The price range where you think it will move. Usually, from my experience, the cryptocurrency market tends to move in a 20% range both up and down when there is some volatility. So I use 20% above and below the current price. But this already depends on the analysis you have done and what prices you think the market is going to move towards.
Number of Orders
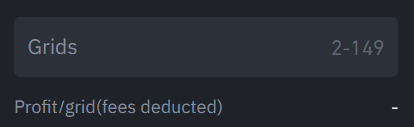
With the prices indicated, we go with squares. Here, indicate the number of squares you want the bot to make. The higher the number of grids, the lower the profit, but the lower the risk. By making more squares it will move more in the market price range at all times. Here it again depends on your risk/reward. In my case, I like to use a midpoint. The minimum is 2 and the maximum is 149 grids. You will see below an estimated profit per grid.
Finally, you will see below the available amount you have and you must indicate the amount you want to use. In USDT before indicating the amount, you will see the minimum you must have to avoid being liquidated. Select the amount, and below it will show the amount per order and the total investment. Keep in mind that when using leverage the total investment will be higher than the amount we place and we are going to use.
Optional Advanced Options
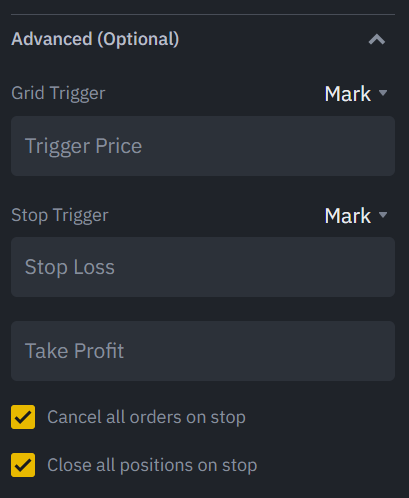
As optional advanced options, we have the grid activation. Where we can indicate a price to activate the grid automatically if we deactivate it and we want it to start trading again in a price range of a cryptocurrency. So we will not have to be aware of the price of that cryptocurrency.
We will also find a stop loss, which allows us to stop the grid when the price of the cryptocurrency reaches the value we have indicated. Undoubtedly, although it is optional, it is very interesting and useful to also indicate a stop loss so that the grid does not operate in a price range that does not interest us. Therefore, I recommend that you indicate a stop loss price, where you think that if it reaches that price, the trend of the cryptocurrency will change. You can indicate a price either if it reaches a very low price, or if it reaches a very high price, and the cryptocurrency starts to move in another price range.
With all this indicated, click on create, you will see all the information to see that there is no error and click on confirm. Just below you will see that the grid has been created and is running. At any time you can click on finish to stop the grid from running. You will also be able to see the different trades it has made and is making at all times. In addition to a history of profitability and all the information of the grid both when it is live and when you stop using it.
I hope this video has helped you to learn more about how to create your futures trading grid in binance. Remember, if you don’t have an account with Binance, you will be able to create one just below.